Bootstrap Radio Jquery
Intro
Occasionally the tiny things turn out to be definitely the most crucial due to the fact that the whole picture is in fact a whole incorporating several tiny features refined and compiled in order to present and check as a well-oiled bright machine. These straight phrases might appear a little bit too much whenever it goes to create controls however supposing that you just consider about it for a bit there is certainly just a single feature helping the website visitor to grab one amongst a couple provided options. Therefore in case you're featuring certain forms through this sort of selections controls over your various websites does this guarantee they are going to all look identical? And most essentially-- would you agree to that?
Fortunately for us the latest edition of one of the most favored mobile friendly framework - Bootstrap 4 arrives completely loaded with a brilliant brand-new treatment to the responsive attitude of the Bootstrap Radio Toggle controls and just what is bright new for this edition-- the so called custom made form regulations-- a combination of predefined appeals you are able to simply get and use for you to bring in the so desired in today times variety in the visual presentations of basically uninteresting form details. In this way let's take a look the way the radio tabs are meant to be described and styled in Bootstrap 4. ( click this link)
Tips on how to make use of the Bootstrap radio button:
In order to generate a radio button we primarily need a
<div>.form-check.form-check-inline.radio.radio-inline.disabledIn the
.form-check<label>.form-check-label<input>.form-check-inputtype = “radio”name = “ ~ same name for all the options ~ ”id = “ ~ unique ID ~ “value=” ~some value here ~ ”disabled<input>This is additionally the area to identify in the case that you want the radio control to primarily load like checked as soon as the webpage gets loaded. Supposing that this is what you're looking for-- as opposed to
disabledchecked<input>checkedCheckbox and also Bootstrap Radio Value representations
The inspected condition for all of these buttons is only improved through click event on the button. If you use another procedure to update the input-- e.g., with
<input type="reset">.active<label>Note that pre-checked buttons demand you to manually add in the
.active<label>Checkbox

<div class="btn-group" data-toggle="buttons">
  <label class="btn btn-primary active">
    <input type="checkbox" checked autocomplete="off"> Checkbox 1 (pre-checked)
  </label>
  <label class="btn btn-primary">
    <input type="checkbox" autocomplete="off"> Checkbox 2
  </label>
  <label class="btn btn-primary">
    <input type="checkbox" autocomplete="off"> Checkbox 3
  </label>
</div>
Radio

<div class="btn-group" data-toggle="buttons">
  <label class="btn btn-primary active">
    <input type="radio" name="options" id="option1" autocomplete="off" checked> Radio 1 (preselected)
  </label>
  <label class="btn btn-primary">
    <input type="radio" name="options" id="option2" autocomplete="off"> Radio 2
  </label>
  <label class="btn btn-primary">
    <input type="radio" name="options" id="option3" autocomplete="off"> Radio 3
  </label>
</div>
Radio button approach
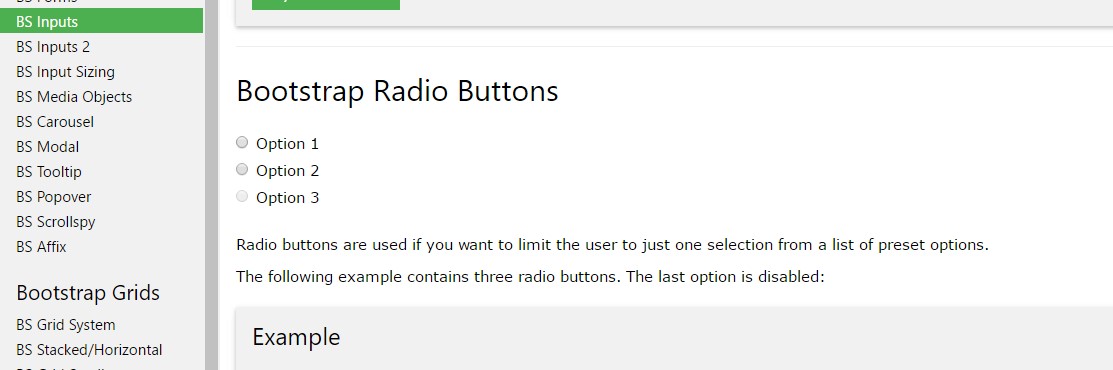
As soon as we need the site visitor to choose only one of a series of features, we can probably work with input components of the radio style. ( additional reading)
Every time there is more than one particular element of this particular option along with the same value within the name attribute, just one can be selected.

<div class="row">
  <div class="col-lg-6">
    <div class="input-group">
      <span class="input-group-addon">
        <input type="checkbox" aria-label="Checkbox for following text input">
      </span>
      <input type="text" class="form-control" aria-label="Text input with checkbox">
    </div>
  </div>
  <div class="col-lg-6">
    <div class="input-group">
      <span class="input-group-addon">
        <input type="radio" aria-label="Radio button for following text input">
      </span>
      <input type="text" class="form-control" aria-label="Text input with radio button">
    </div>
  </div>
</div>
Conclusions
Basically this is the approach the default radio switches get specified and work along in Bootstrap 4-- right now everything you need are certain options for the visitors to select from.
Inspect a couple of on-line video training relating to Bootstrap Radio Button:
Connected topics:
Bootstrap buttons main information

Bootstrap Radio button - training
Checkbox radio buttons break entire toolbar styling
